Deploy a model on dedicated resources using the Dashboard
Requirements
🔒 You need a platform account with full access level.
The Dashboard offers the possibility to deploy an AI module persistently on the platform resources.
✅ Pros |
❌ Cons |
|---|---|
|
|
1. Choose your module and deploy
The first step is to choose a module from the Dashboard.
There you will be able to find all the modules ready to be used under the tag Inference.
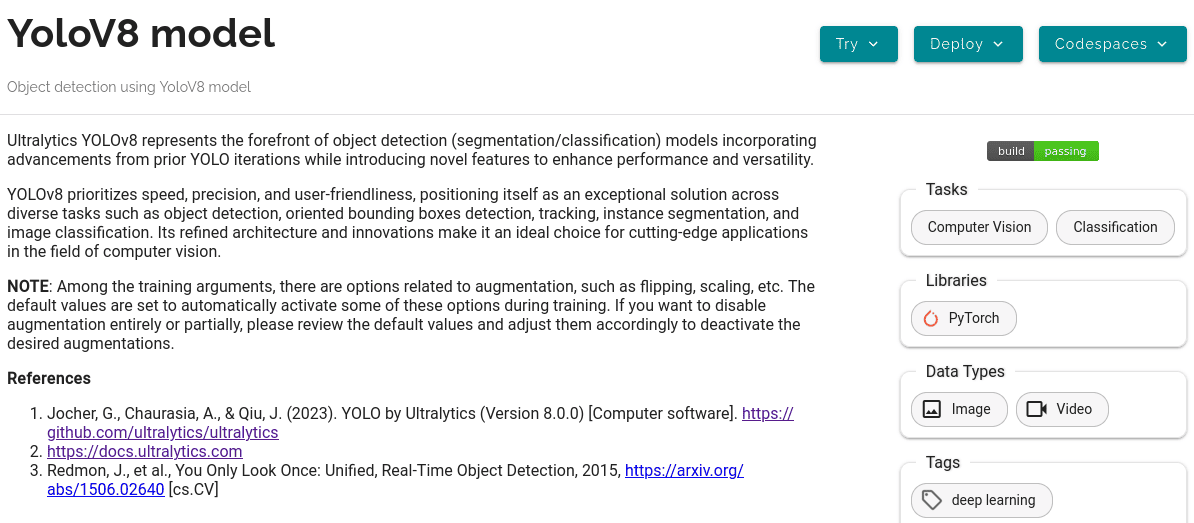
We will first start doing a simple prediction using the popular YOLO module.
In the module page, click on the option Deploy > Inference API (dedicated).
You will be show a configuration page where the option DEEPaaS is selected.
You can directly click on Quick submit as you don’t need to configure anything else.
2. Making a prediction
In the Deployments tab, go to the Modules table and find your created deployment.
This deployment offers the ability to perform predictions either via an API or an UI:
2.1 API prediction
Click the Quick access to access the DEEPaaS UI.
In the POST .../predict method:
click in the right button
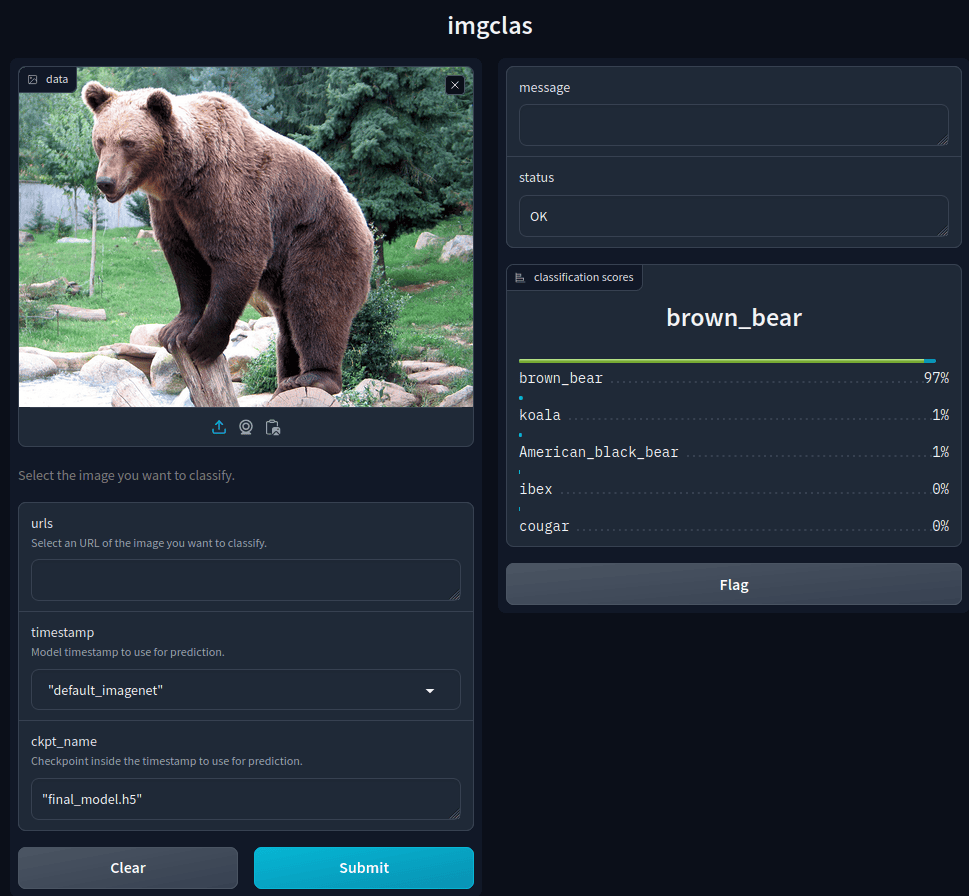
Try it out,upload a image (eg. a bear image) to the
filesparameter,click in
Execute.
You will be returned a JSON with the results:
{
"status": "OK",
"predictions": [
    "[\n  {\n    \"name\": \"bear\",\n    \"class\": 21,\n    \"confidence\": 0.93346,\n    \"box\": {\n      \"x1\": 109.39322,\n      \"y1\": 26.39718,\n      \"x2\": 627.42999,\n      \"y2\": 597.74689\n    }\n  }\n]"
]
}
Notes
Sometimes the first prediction you make can be a little slow. This is because the AI model has to be download and/or loaded. Subsequent predictions should run much faster.
2.1 UI prediction
Under Info you will also be able to find the UI endpoint.
This endpoint offers a fully fledged Gradio UI to perform inference.