Data drift detection with Frouros
Requirements
🔒 You need a platform account with full access level.
The platform allows to detect data drift in your data at inference time. This is a useful warning that the inference results might not be reliable anymore and that some action should be taken (eg. cleaning the sensor, retraining the model, etc).
In this tutorial, we are going to demonstrate how to implement drift detection in an image object detection pipeline. Specifically, we are going to use the OBSEA Fish Detection module, where the drift detector will signal that the underwater camera is dirty and needs cleaning.
You can find the full code of this tutorial, as well as reference notebooks.
In this tutorial, we use Frouros as the main drift detection library, but the tutorial still applies to other popular drift detection libraries like Alibi-detect, Evidently, Eurybia, etc.
What is drift detection?
In drift detection, we monitor a model at inference time to detect when the input data starts to deviate from the training data distribution: we call this data drift. There could be many reasons causing data drift:
the sensor taking the images is dirty, so we need to clean it,
the distribution of data has really changed, so the model needs to be retrained,
In any case, the predictions are no longer reliable and an action has to be taken by the user.
To detect drift, we take the inference data vector and compare it with a reference training dataset. We compute a distance that summarizes what is the likelihood that the inference vector could come from the training data. If the distance is above a threshold, we can confidently assert that the data has indeed drifted.
In the case of images, the pure pixels values are not a good summarizer of the image statistics. So we typically train an autoencoder model that is able to summarize the pixel values into a smaller vector that more accurately describes the image. We then use this vector to compute the distance, as before.
Find more information on the fundamentals of drift detection.
Create your drift detector
1. Define your reference data
The first step is to define a “normal” reference dataset (ie. clean camera). The clean images will be used as reference to train the detector and determine the statistical properties of the data under normal conditions. You can also define anomalous images (ie. dirty camera) for testing the detector.
The images can be defined in a configuration file:
ㅤㅤ 📄 Configuration file (TOML)
[transform]
resize = [216, 384]
mean = [0.00, 0.00, 0.00]
std = [1.00, 1.00, 1.00]

[camera_state]
clean = [
    "20230728-083036-IPC608_8B64_165.jpg",
    # ...
]
dirty = [
    "20230720-073036-IPC608_8B64_165.jpg",
    # ...
]
Use torchvision (or your preferred library) to load the images and convert
them to tensors. It is recommended to resize the images to a smaller size
(e.g., 216x384) to reduce computational cost and complexity. This can be
done using the torchvision.transforms module.
ㅤㅤ 📄 Load your images (Python)
import tomllib

from PIL import Image
from torch.utils.data import Dataset
from torchvision import transforms

from obsea import config

class ImageDataset(Dataset):
    def __init__(self, image_paths, transform=None):
        self.image_paths = image_paths
        self.transform = transform

    def __len__(self):
        return len(self.image_paths)

    def __getitem__(self, idx):
        image = Image.open(self.image_paths[idx]).convert("RGB")
        if self.transform:
            image = self.transform(image)
        return image.to(config.device)

transform = transforms.Compose(
    [
        transforms.Resize(settings["resize"]),
        transforms.ToTensor(),
        transforms.Normalize(
            mean=settings["mean"],
            std=settings["std"]
        ),
    ]
)


with open("config.toml", "rb") as f:
    settings = tomllib.load(f)

image_names = settings["camera_state"]["clean"]
image_paths = [images_parent / name for name in image_names]
dataset = ImageDataset(image_paths, transform=transform)
Once the pipeline to load the images and convert them to tensors is defined, we can proceed to the next step.
2. Choose the detection method
It’s time to select the appropriate detection method for our usecase, based on the Frouros table of available methods:
In our task, we want to analyze changes in data properties, not to evaluate a model’s performance, so we need to select a Data drift detection method.
Since our service processes one image per call (e.g., one image per day), we need a Streaming method.
For image data with multiple features, a Multivariate method is required.
As the input data is numerical, the method must support numerical data.
Based on this analysis, the best method is Maximum Mean Discrepancy (MMDStreaming()).
3. Train an autoencoder
Tip
If you module does not involve image data, you can skip this step. You change the references in the text below from clean embeddings to clean data.
Drift detection struggles to understand images because of their high dimensionality (e.g. 224x224x3). To reduce computational cost and complexity, we can train an autoencoder to lower the dimensionality of the image data before feeding them to the drift detector.
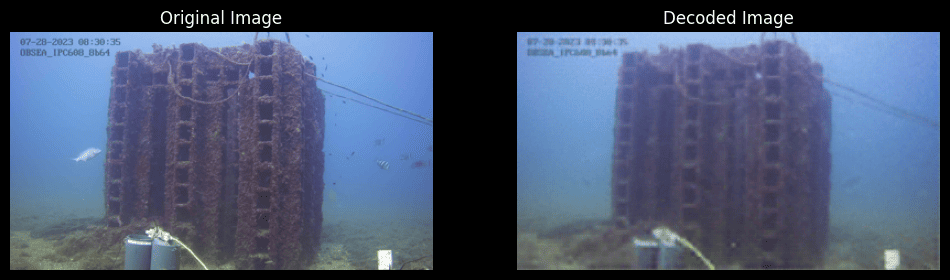
This tutorial will not cover the details of training an autoencoder, but you can find many online tutorials on how to do it using TensorFlow or PyTorch. What is important is to train the autoencoder with images, so that it learns to encode the clean (and ideally dirty) states of the camera.
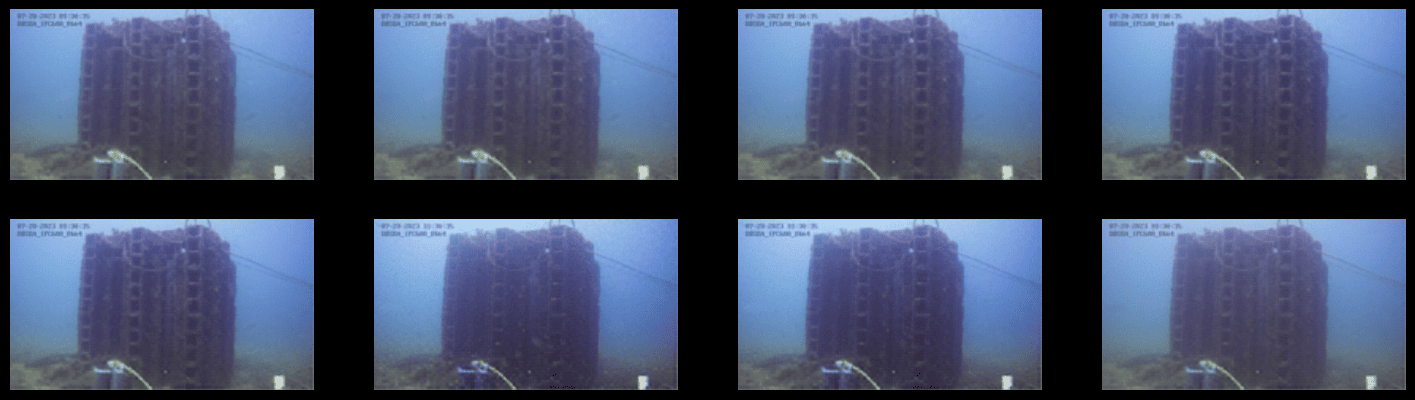
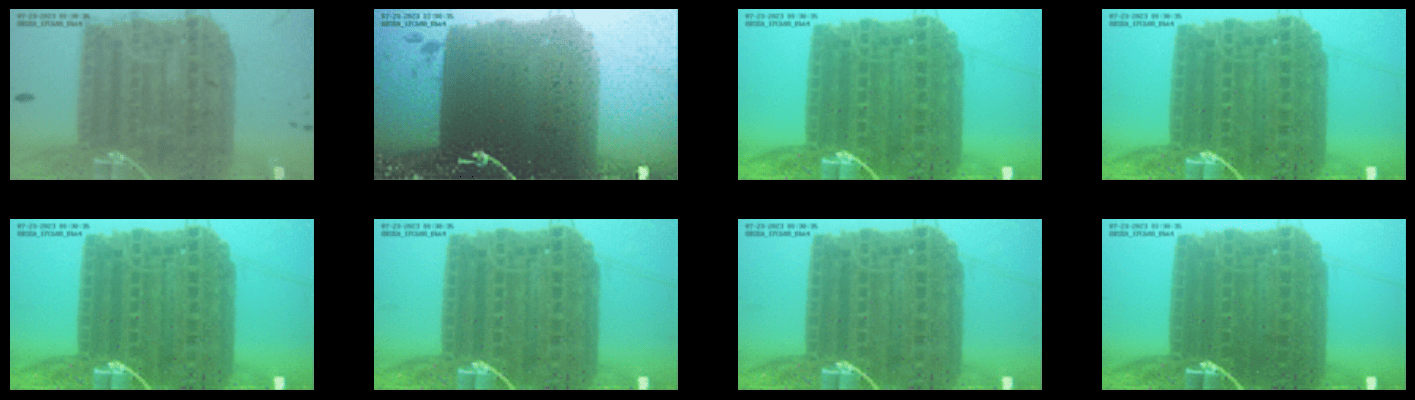
At inference time, you will need to to create the embeddings of the incoming images to pass them to the drift detector model. So you need to save the autoencoder weights in the Storage to be able to load them at inference time.
Additionally, you can also save the embeddings of clean camera images to warm the the drift detector at inference time, so it starts to detect drift from the first inference call.
ㅤㅤ 📄 Saving autoencoder and clean embeddings (Python)
# Load the autoencoder model
autoencoder = Autoencoder()  # define your autoencoder architecture
train(autoencoder, dataset)  # train the autoencoder on the dataset
autoencoder.eval()

# Generate embeddings for clean images
clean_embeddings = []
for image in dataset:
    with torch.no_grad():
        embedding = autoencoder.encoder(image.unsqueeze(0))
        clean_embeddings.append(embedding)

# Save the model weights and clean embeddings
torch.save(autoencoder.state_dict(), "/storage/autoencoder.pth")
torch.save(clean_embeddings, "/storage/clean_embeddings.pth")
4. Create and train the data drift detector
Using the Frouros library, we can create a drift detector that will
monitor the incoming data and compare it with the reference data
(clean embeddings). As defined in the previous step, we will use the
MMDStreaming() method to detect drift in the data.
This method compares the distribution of incoming data with the reference
data in real-time by using a sliding window approach. The first calls to
update() will be used to fill the sliding window, and then the detector will
start to compare the incoming data with the reference data. Due to this
process, the first 12 calls to update() will not be used to detect drift and
will return None. Optionally, we can warm up the detector by calling update() with the
clean embeddings defined in the previous section.
Finally we define a threshold for the drift detection metric. If the metric exceeds the threshold, it indicates potential drift.
ㅤㅤ 📄 Implementing the detector (Python)
from functools import partial
from frouros.detectors.data_drift import MMDStreaming
from frouros.utils.kernels import rbf_kernel

detector = MMDStreaming(window_size=12, kernel=partial(rbf_kernel, sigma=0.3))
clean_embeddings = load_encodings(...)
detector.fit(clean_embeddings.cpu().numpy())  # Frouros expects numpy arrays

# Warm up the detector with clean embeddings
for embedding in clean_embeddings:
    detector.update(embedding.cpu().numpy())

# Now you can start monitoring incoming data
for image in incoming_images:
    with torch.no_grad():
        embedding = autoencoder.encoder(image.unsqueeze(0))
    drift_score, _ = detector.update(embedding.cpu().numpy())
    print(f"Drift score: {drift_score.distance}")

# Define a threshold for drift detection
warning_threshold = 0.05  # Adjust this value based on your requirements
drift_threshold = 0.10  # Adjust this value based on your requirements

# Check for drift
if drift_score.distance > drift_threshold:
    print("Drift detected!")
elif drift_score.distance > warning_threshold:
    print("Warning: Drift score is approaching the threshold.")
We recommend simulating different scenarios (e.g., clean vs. dirty camera images) to set the appropriate threshold value. Ensure that it correctly identifies drift and triggers appropriate alerts.
Integrate the drift detector with the DEEPaaS API
Now that you have your detector ready you need to integrate it with the DEEPaaS API so that it will be used at inference time.
If you followed the steps in Develop a model (tutorial), you should have a model the basic DEEPaaS functions, including: warm(), get_predict_args() and predict().
Once this is done, you need to perform the following updates:
1. Update the warm function
In the warm() function, you need to initialize the drift detector with the clean embeddings,
saved in the Storage.
Note that the state of the detector is restarted every time the module is restarted.
def warm():
    # Load detector
    detector = MMDStreaming(window_size=12, kernel=partial(rbf_kernel, sigma=0.30))

    # Warm up the detector with clean data
    clean = load_encodings("/storage/clean_embeddings.pth")
    detector.fit(clean.cpu().numpy())
    for sample in clean[:utils.detector.window_size]:
        detector.update(sample.cpu().numpy())
2. Update the predict function
In the predict() function, you need to define the logic to monitor incoming
data and check for drift. To do so, first, we need to define a schema that
will be used to define and validate the incoming data.
ㅤㅤ 📄 Implementing predict schema (Python)
import marshmallow
from marshmallow import fields, validate

class PredArgsSchema(marshmallow.Schema):
    """Prediction arguments schema for api.predict function."""

    class Meta:  # Keep order of the parameters as they are defined.
        ordered = True

    input_file = fields.Field(
        metadata={
            "description": "Image used to evaluate the data drift.",
            "type": "file",
            "location": "form",
        },
        required=True,
    )
    drift_distance = fields.Float(
        metadata={
            "description": "Minimum distance to consider data drift.",
        },
        load_default=0.125,
        validate=validate.Range(min=0.0),
    )

def get_predict_args():
    return PredArgsSchema().fields()
As the arguments for inference are defined, we can proceed to implement the logic to monitor the incoming data.
The predict() function is called when the module is used to make predictions
about the data drift status. The function will load the image, encode it
using the autoencoder, and then use the drift detector to check if the image
is clean or dirty. The function returns whether drift exists or not.
def predict(input_file, drift_distance):
    # Load the image and encode it
    image = load_image(input_file.filename)
    normalized = transform(image).to(config.device)
    encoded = autoencoder.encoder(normalized.unsqueeze(0))[0]

    # Check if the image is clean
    result, _ = detector.update(encoded.cpu().numpy())
    return {
        "drift": bool(result.distance > drift_distance),
    }
Monitor drift with Driftwatch
The previous section has showed how we could compute drift inside our predict function.
But for a better user experience, we have developed DriftWatch to visualize the drift over time in an interactive way. It allows to save the drift metrics for each inference call and plot them over time.
To connect your module with DriftWatch, follow these steps:
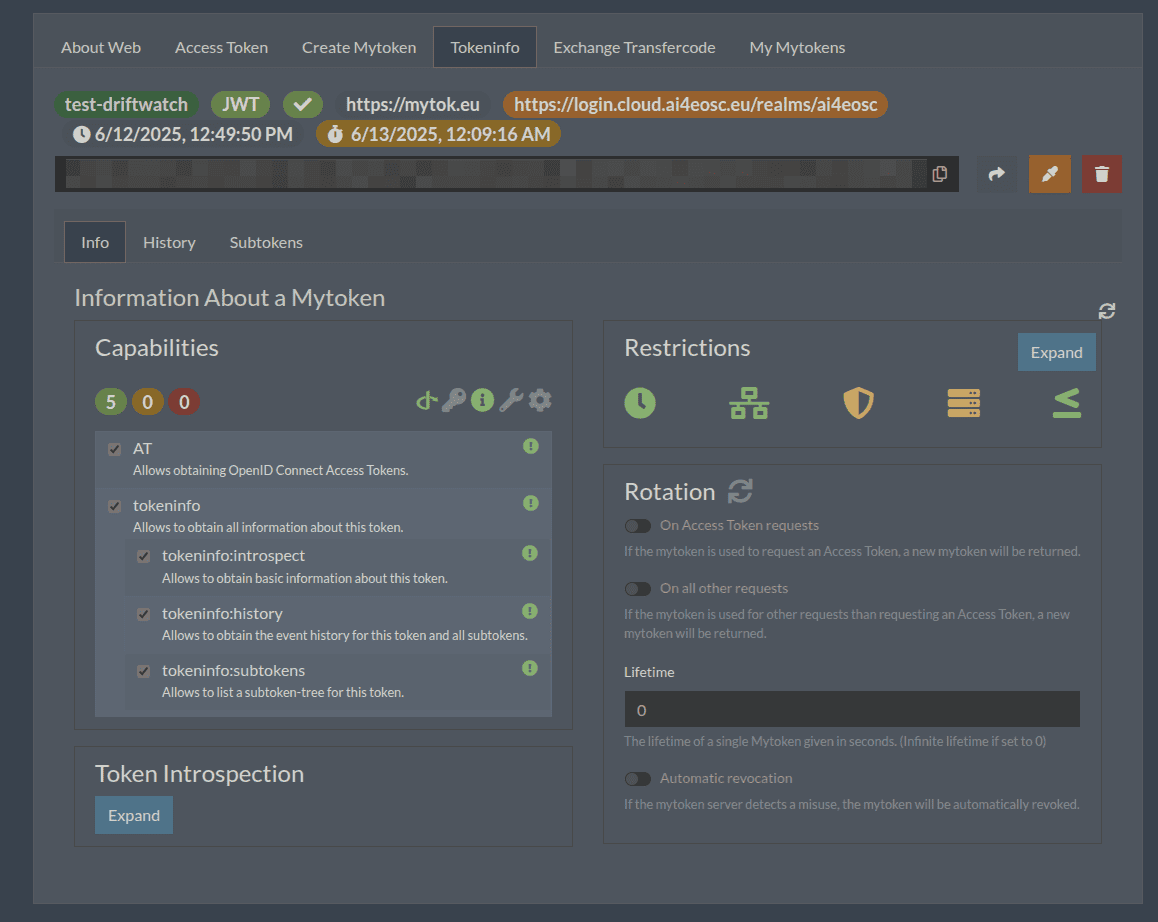
1. Obtain a MyToken to authenticate to the service
To store data into DriftWatch server, users need to authenticate. To do so, DriftWatch offers compatibility with federated authentication via mytoken, a service which allows the use of OIDC based tokens with enhanced security and long life extensions.
To obtain your token:
Login into mytoken selecting the
AI4EOSCproviderGo to
Create MyToken:Provide a
Token nameSet
Audiencesto https://drift-watch.cloud.ai4eosc.eu/Click on
Create new Mytoken
This will open a new tab to approve the token. Once approved, switch back to the previous tab to see the token value.
2. Initialize DriftWatch in your module
Create an environment variable DRIFT_MONITOR_MYTOKEN and assign your mytoken to it.
To add the DriftWatch library to your module, you need to add the drift-monitor package to the requirements file. This package is used to connect your modules with DriftWatch and send the drift metrics to be monitored.
$ pip install -U drift-monitor
Once the package is installed, you need to accept the license agreement and
register to be able to create experiments in the DriftWatch
service.
You do it at the start of the api.py file:
import drift-monitor as dw

dw.register(accept_terms=True)
description = "This is an experiment to track camera status on OBSEA project."
try:
    dw.new_experiment("obsea-camera", description, public=True)
except ValueError:
    print("Experiment already exists. Skipping creation.")
3. Update the predict function
Final step is to extend the predict() function with the functionality to
upload your drift jobs to the DriftWatch server. To do so, you simply
need to open a python context with DriftMonitor() defining a model id and
the tags you want to use to identify your results on the experiment.
def predict(input_file, drift_distance):
    model_id, tags = config.data_version, config.tags
    parameters = {"some_parameter": "value"}
    ...
    # Check if the image using drift detection
    result, _ = detector.update(encoded.cpu().numpy())
    with dw.DriftMonitor("obsea-camera", model_id, tags) as monitor:
        result, _ = detector.update(encoded.cpu().numpy())
        parameters["distance"] = result.distance
        monitor(result.distance > drift_distance, parameters)
    ...
    return ... # format and return the results as before
Every time the inference calls the predict() function, a new job is opened at
DriftWatch. If an exception is raised during the execution of the code
under the DriftMonitor() context, the job will be closed with Failed
status. Otherwise, normal exit of the context will close the job as
Completed.
4. Add additional context data to your drift
As you might have notice, the second parameter of the monitor() function
is a dictionary with the parameters you want to add to your drift job. You
can add any additional information you want to include in the job. For
example, you can add the name of image that was used for the prediction, the
drift distance, and any other information that you want to include in the
job.
If your deployment is mounted with storage, you can save the images in the storage (accessible in the /storage folder).
If you then include the image name in the drift parameters, you will be able to locate what was the image that caused the drift.
The resulting predict() function would look as following:
# Init the image dir
image_dir = "/storage/test-driftwatch"
os.makedirs(image_dir, exist_ok=True)

def predict(input_file, drift_distance):
    ...
    # Save image to permanent storage
    timestamp = dt.datetime.now().strftime("%Y-%m-%d_%H-%M-%S")
    shutil.copy(input_file.filename, f"{image_dir}/{timestamp}.jpg")
    ...
    # Add image name to parameters
    parameters["image_name"] = f"{timestamp}.jpg"
    ...
    return ... # format and return the results as before
Deploy your module in production
In the module page, click on the option Codespaces > Jupyter. You will be
shown a configuration page where the option
Jupyter is selected.
Make sure to connect you storage to be able to retrieve the weights of the drift detector.
Then submit the deployment.
In the Deployments tab, go to the Modules table and find your created
deployment. Click the Quick access to
access the JupyterLab terminal.
Now we need to define the mytoken variable as envar:
$ export DRIFT_MONITOR_MYTOKEN=<your_token>
Now we can start the DEEPaaS API:
$ deep-start --deepaas
Once the module is running, you can use the POST .../predict method to send an image
to the module and check if it is clean or dirty.
Access to DriftWatch in order to visualize the uploaded drift in the dashboard.
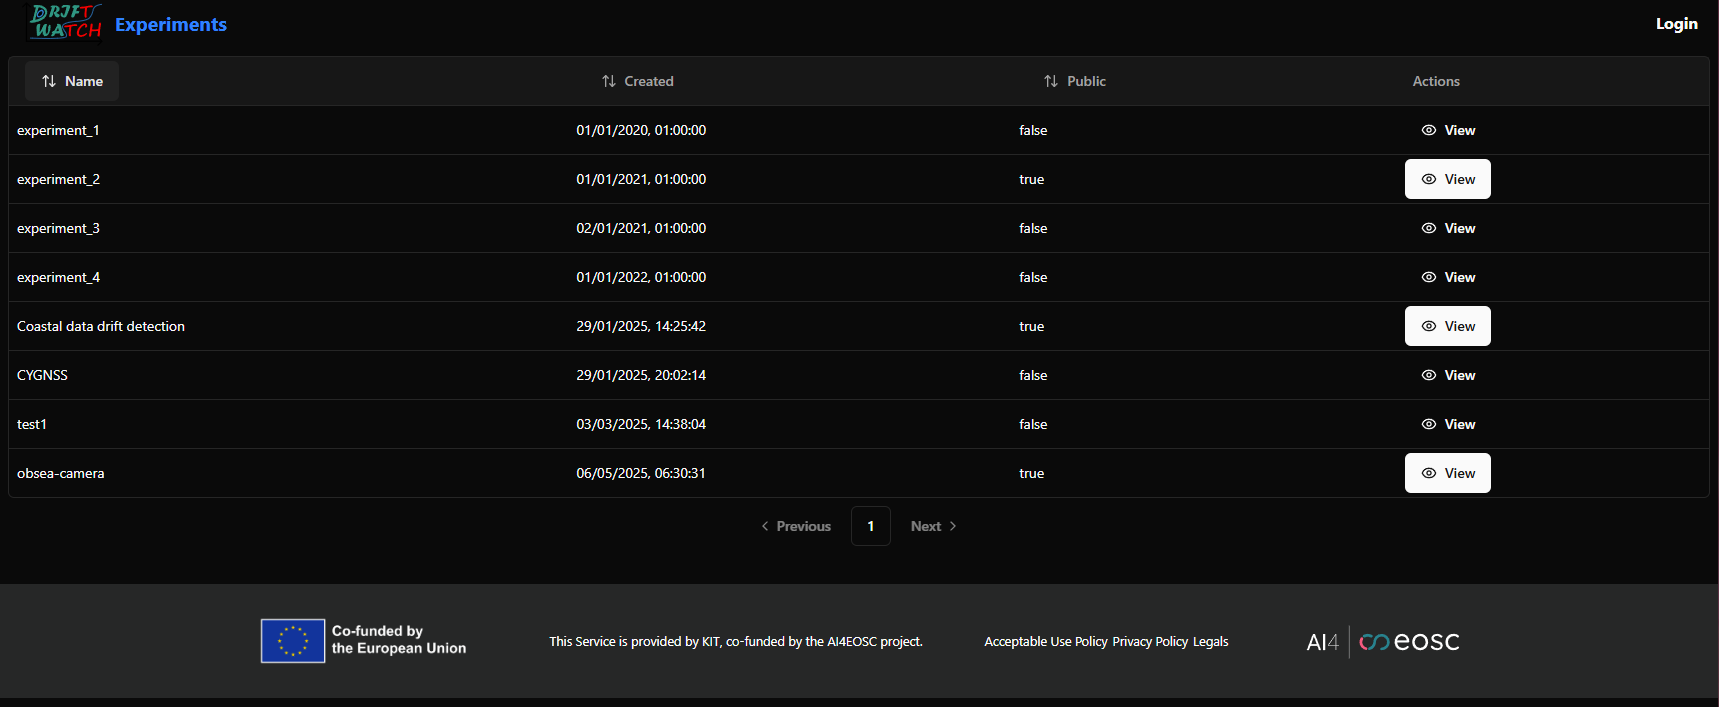
Click on your experiment and you will be shown a list of the drift jobs that have been uploaded. You can select the desired jobs and configure the visualization options to see the drift distance over time.
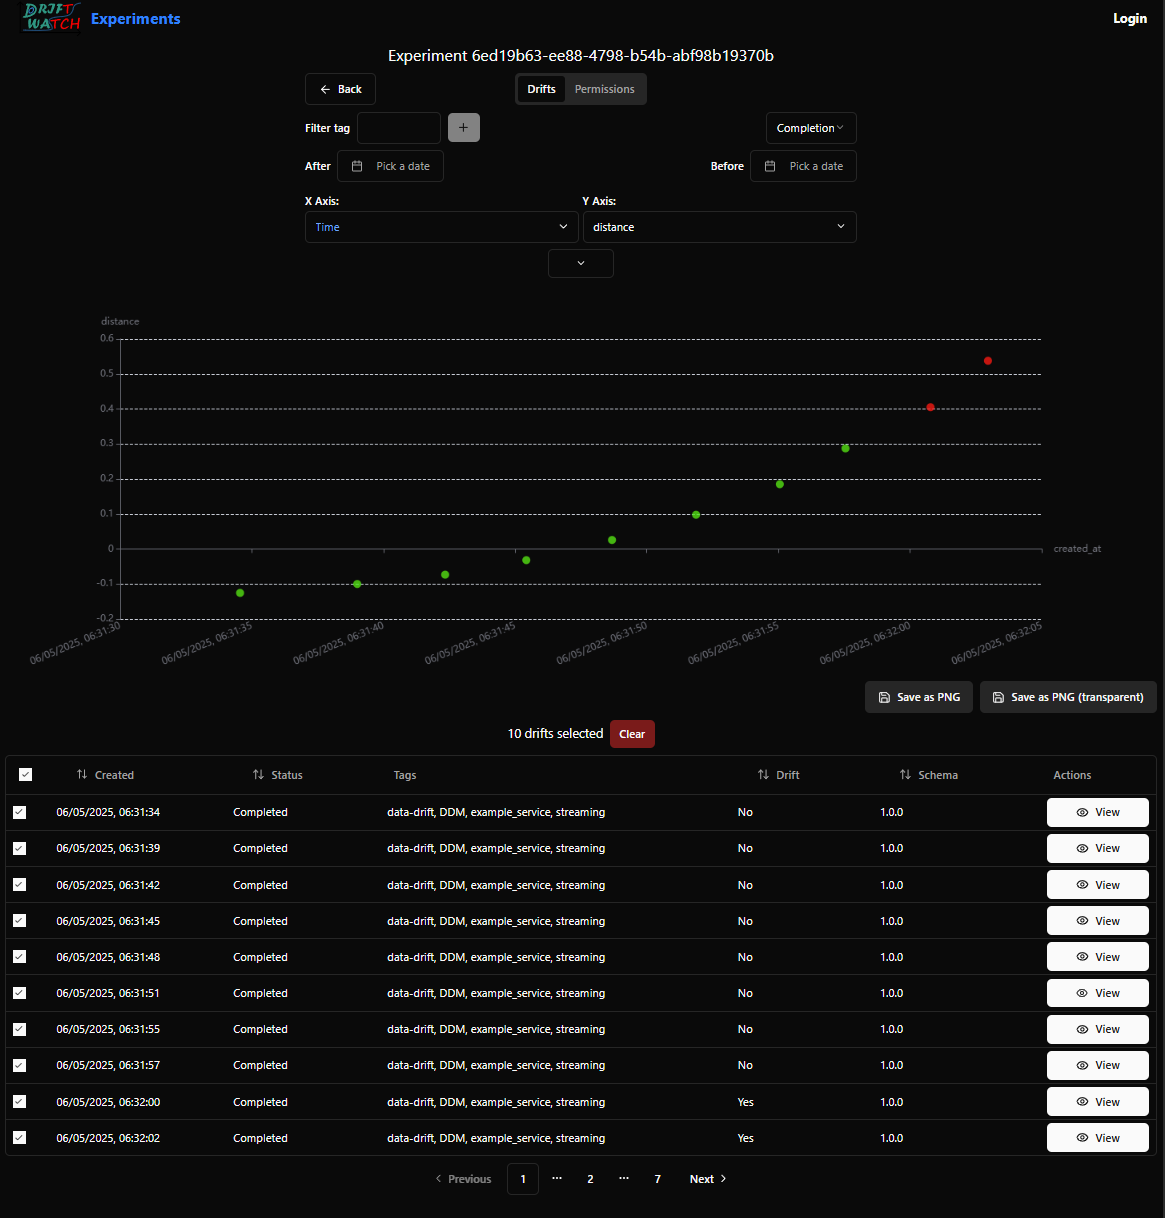
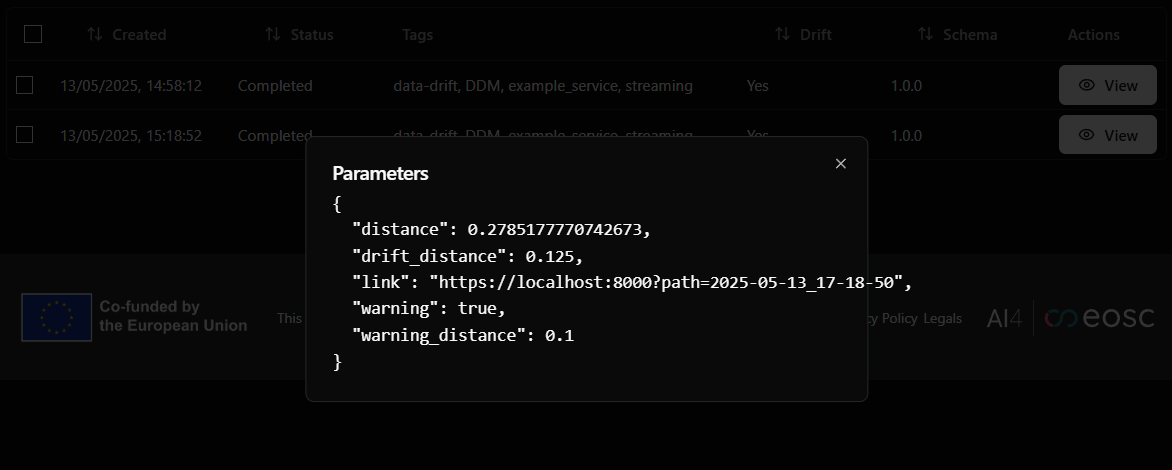
Use the View button to see the saved parameters of a particular inference call.