Labeling images with CVAT
Requirements
🔒 You need a platform account with full access level.
In this tutorial, we will guide you on how to use the Computer Vision Annotation Tool (CVAT) in the platform to annotate images.
Deploying CVAT
The CVAT tool is located at the top of the Marketplace, in the Tools section.
The workflow for deploying CVAT is similar to the one for deploying a module. In this particular case, you will need to pay attention to:
CVAT credentials: When configuring the deployment of CVAT, you will need to enter your
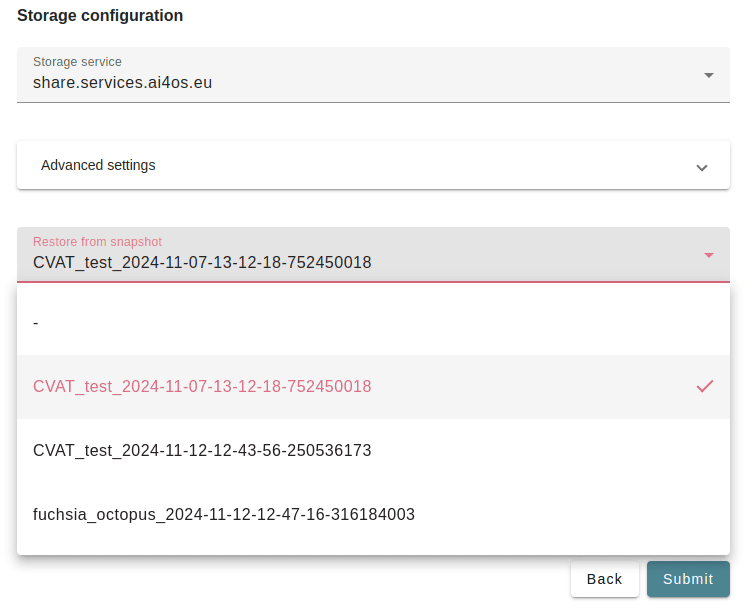
CVAT usernameandCVAT passwordto authenticate yourself in the CVAT instance.Storage: For using CVAT, it is mandatory to have a storage provider linked. This is because, each time you delete a CVAT instance a snapshot will automatically be created in your storage. When you deploy a new CVAT instance, you can either start from an existing snapshot or from a blank state (no snapshot).
Using CVAT
In the deployments list you will be able to see your newly created CVAT instance.
Clicking the Quick access button, you will directly enter the CVAT UI.
The enter you CVAT username and CVAT password and voilá, you’re in!
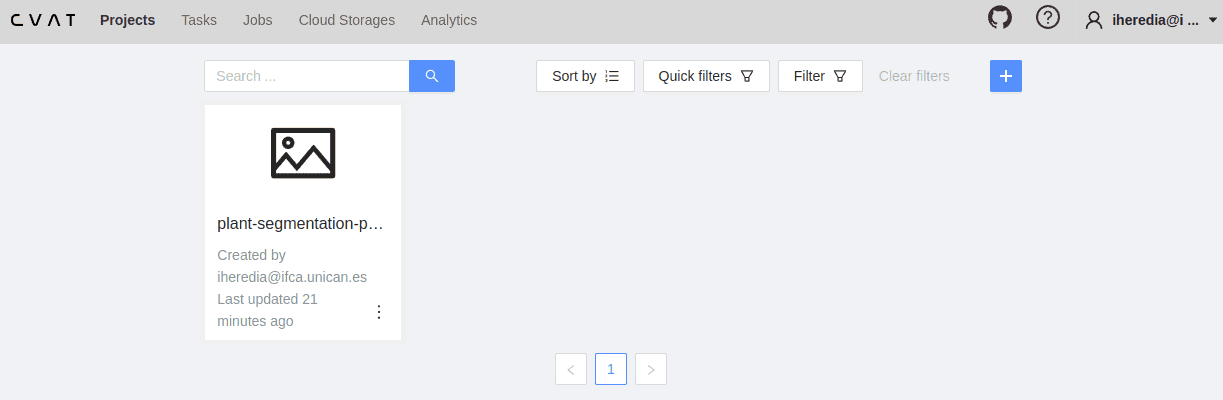
CVAT uses a hierarchical structure to organize annotation work:
Projects are used to organize multiple related tasks under a shared label schema and configuration. Projects are ideal for managing large annotation efforts that span multiple datasets or annotation tasks.
Tasks are a specific annotation assignment within a project. Each task defines the label schema to use for annotation and contains the data to be annotated.
Jobs are a subdivision of a task, containing a subset of the data. They allow for the distribution of annotation work among different annotators.
We recommend creating start by creating a project then create subsequent tasks. Creating a project is important because this will enable periodic backups to automatically be generated.
Connecting your dataset
When creating a new task you have to provide some data to annotate. You have the following options:
My computer: Upload data from your local computer
Connected file share: Use datasets you already have in the Storage.
In this case, anything you save under
ai4os-storage/tools/cvat/sharewill be available for annotation in CVAT.Remote sources: Use publicly available images, by providing URLs.
For example, you can make public any folder in the Storage by clicking →
Open details→Share linkCloud storage: In case you have your dataset hosted on ASW S3, Azure or Google Cloud.
For more information on using CVAT, please follow the official CVAT documentation.

CVAT automated backups
Annotating a dataset is a very time consuming task, so having automated backups is a must.
In the platform, we support multiple ways to backup your annotations.
All those backup are saved in the Storage under ai4os-storage/tools/cvat.
To avoid collapsing your storage quota, we adapt the backup schedule to the backup size (ie. lighter backups are made more frequently). The performed backups are:
when a deployment is deleted by the user, we save a full backup of the deployment. This not only includes project annotations, but also meta configurations (like user groups). Those are the snapshots that you will later be able to select in the configuration form.
Location:
ai4os-storage/tools/cvat/backupsevery day, we save a full project backup with images and annotations. To restore from that backup, you will need to import it manually in the CVAT UI.
Location:
ai4os-storage/tools/cvat/backups-periodicevery hour, we save a project backup just with annotations. To restore from that backup, you will need to import it manually in the CVAT UI.
Location:
ai4os-storage/tools/cvat/backups-periodic