Try a service locally
Requirements
This section requires having Docker installed:
Starting from version 19.03 docker supports NVIDIA GPUs. For this, you also have to install the nvidia-container-toolkit to make them visible from inside the container. If you happen to be using an older version you can give a try to nvidia-docker
If you need to use docker in an environment without root privileges (eg. an HPC cluster), check udocker instead of docker.
1. Choose your module
The first step is to choose a module from the Dashboard. For educational purposes we are going to use a general model to identify images. This will allow us to see the general workflow.
Once we have chosen the Module page we will find that it has an associated docker container in DockerHub. For example, in the example we are running here, the container would be ai4oshub/ai4os-image-classification-tf. This means that to pull the docker image and run it you should:
$ docker pull ai4oshub/ai4os-image-classification-tf
Docker images have usually tags depending on whether they are using master or test and whether they use cpu or gpu. Tags are usually:
latestorcpu: master + cpugpu: master + gpucpu-test: test + cpugpu-test: test + gpu
So if you wanted to use gpu and the test branch you could run:
$ docker pull ai4oshub/ai4os-image-classification-tf:gpu-test
Instead of pulling from Dockerhub you can choose to build the image yourself:
$ git clone https://github.com/ai4os-hub/ai4os-image-classification-tf
$ cd ai4os-image-classification-tf
$ docker build -t ai4oshub/ai4os-image-classification-tf .
2. Launch the API and predict
Run the container with
$ docker run -ti -p 5000:5000 -p 6006:6006 -p 8888:8888 ai4oshub/ai4os-image-classification-tf
If you wanted to run using a GPU, make sure to include the --nvidia flag in the command:
$ docker run -ti -p 5000:5000 -p 6006:6006 -p 8888:8888 --runtime=nvidia ai4oshub/ai4os-image-classification-tf:gpu
Once running, point your browser to http://127.0.0.1:5000/ui and you will see the API documentation, where you can test the module’s functionality, as well as perform other actions.
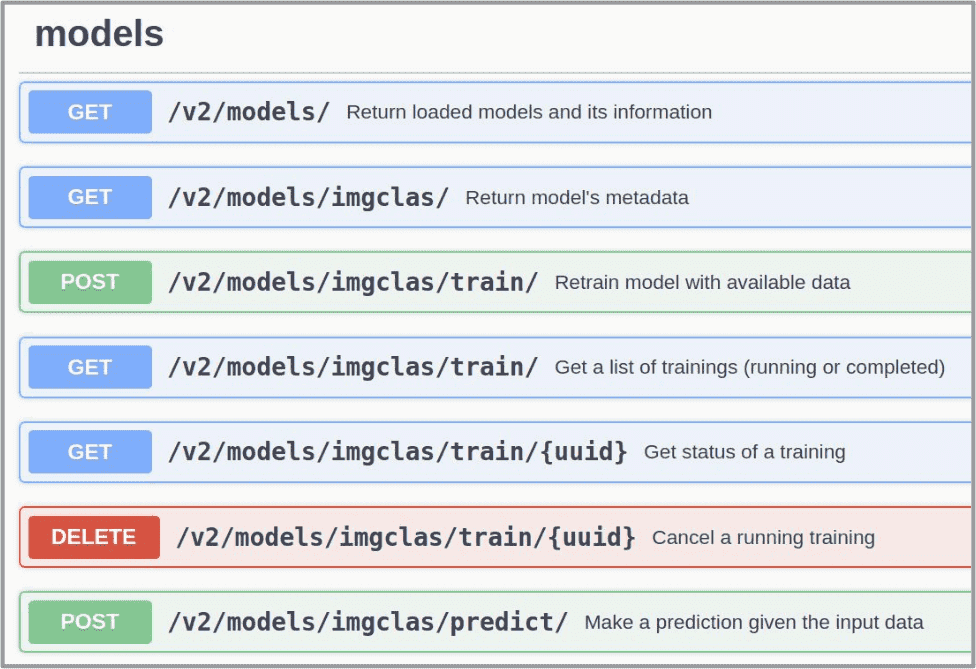
Go to the predict() function and upload the file/data you want to predict (in the case of the image classifier
this should be an image file). The appropriate data formats of the files you have to upload are often discussed
in the module’s Marketplace page or in their Github README files.
The response from the predict() function will vary from module to module but usually consists on a JSON dict
with the predictions. For example the image classifier return a list of predicted classes along with predicted accuracy.
Other modules might return files (eg. images, zips, …) instead of a JSON response.